R1 Harman Radio Setup
These instructions are intended to help you set up the R1 Harman Radio and deploy an app.
Page contents:
Prepare R1 Radio setup for Android app
deployment
- Install
Intel® USB
Driver for Android Devices
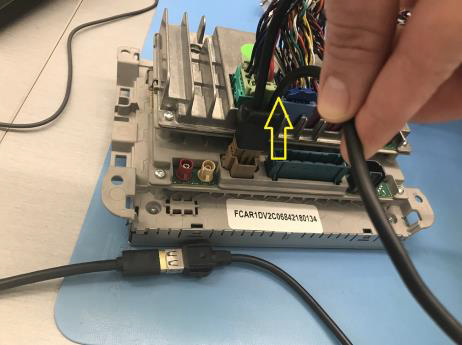
- On R1 radio with proper Harness connected to power
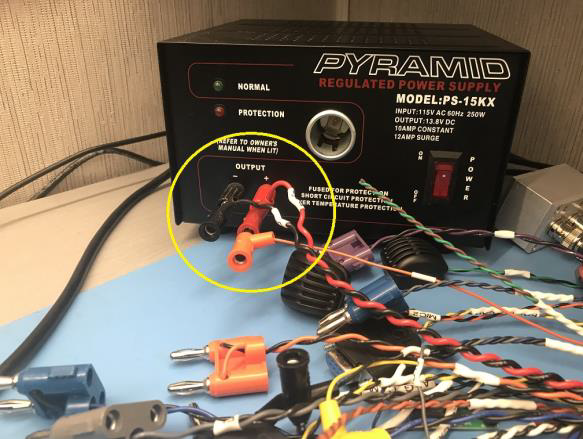
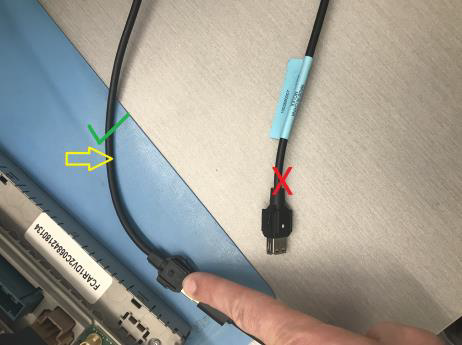
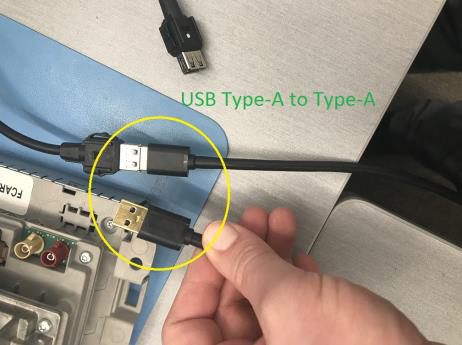
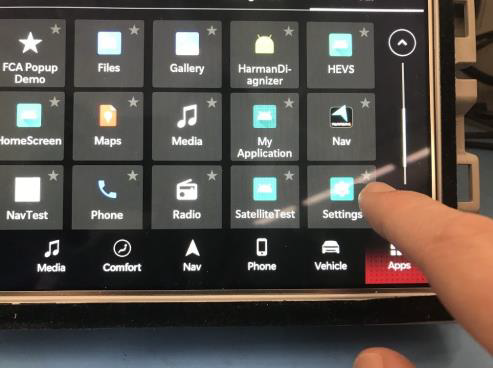
- Connect USB cable Type-A to Type-A to USB host port (non-Blue tag port) as in the picture below.
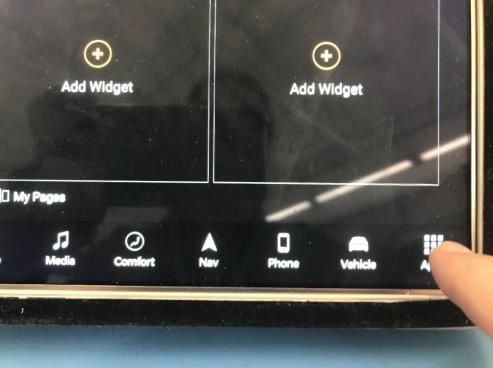
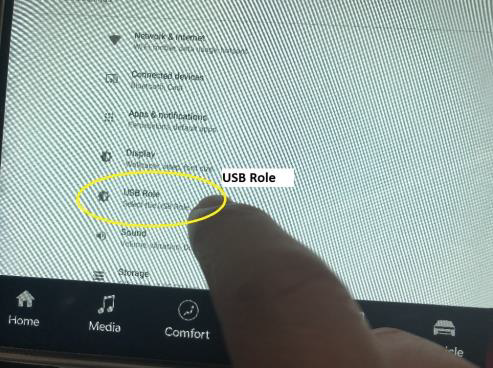
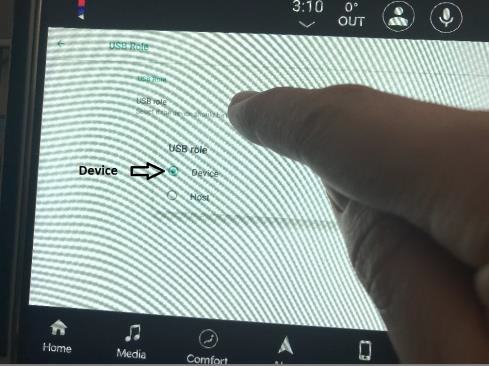
- From the settings app, make sure to select (USB Client) option as in the picture below:
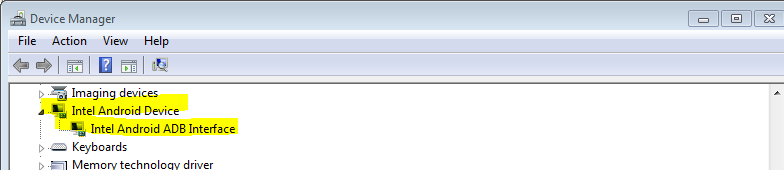
- Connect the other side of the USB cable to your PC that has the USB android driver and Android studio.
you should see a new USB device is enumerated like this:
Start a project using Android Studio
- Open your project in Android Studio.
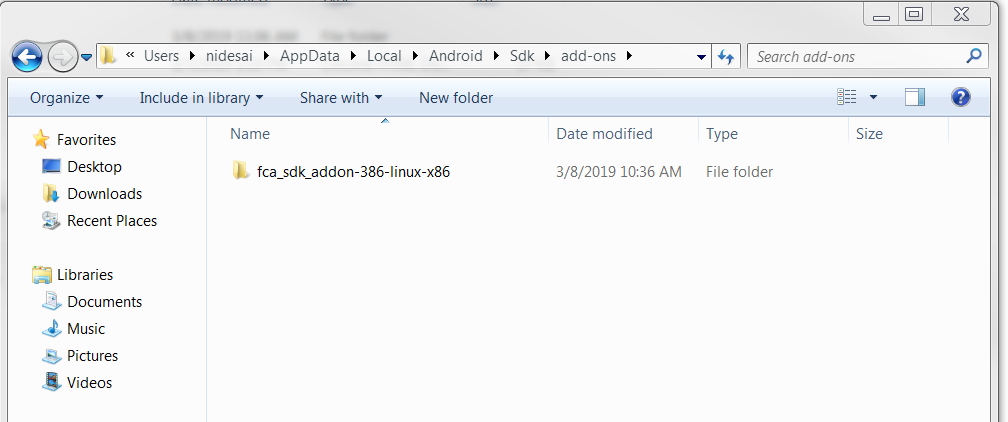
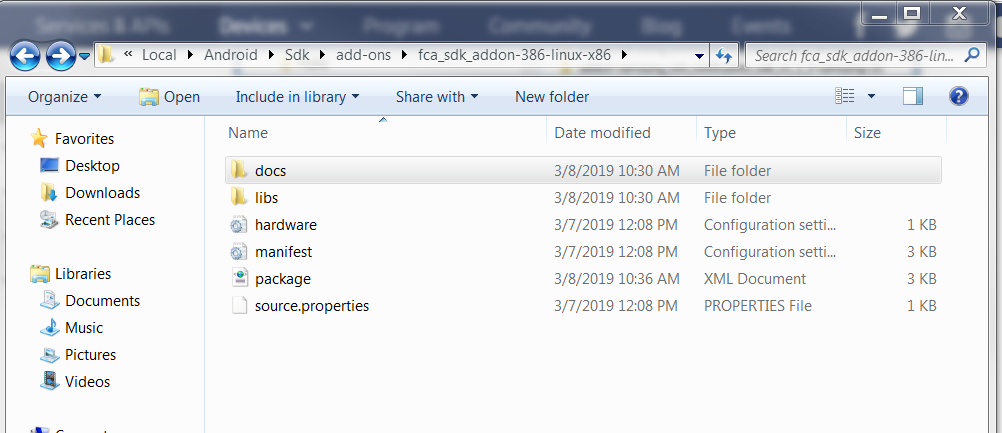
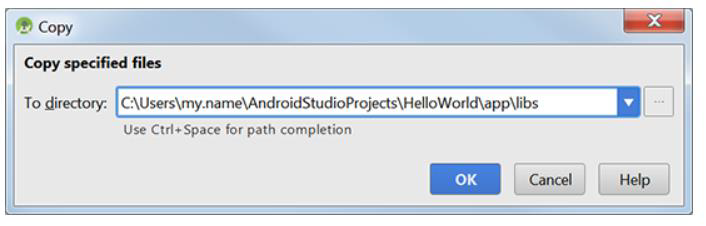
- Use a file browser to navigate to the folder containing the FCA-R1 SDK Add-on library.
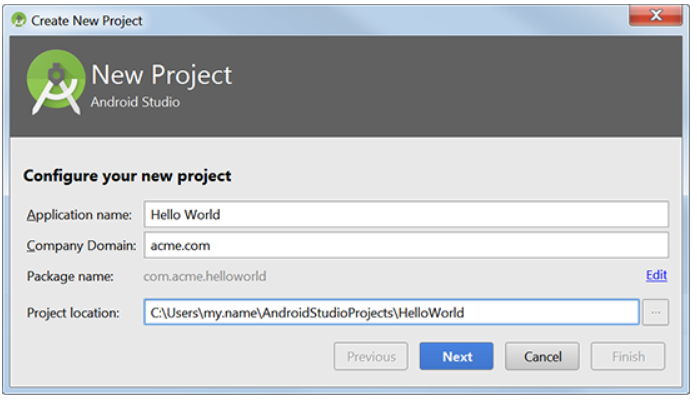
- Fill out the fields:
- Application name: your app name
- Company domain: the qualifier for your app package name.
- Package name: this is the combination of the company domain and application name, which must be
unique across all packages in the Android environment. Android generates this from the
application name and company domain values.
- Project Location: the directory where your app is stored. You can use the default or specify
another location, if desired.
- Click Next.
- Select the type of device you want to target, for example, Phone and Tablet.
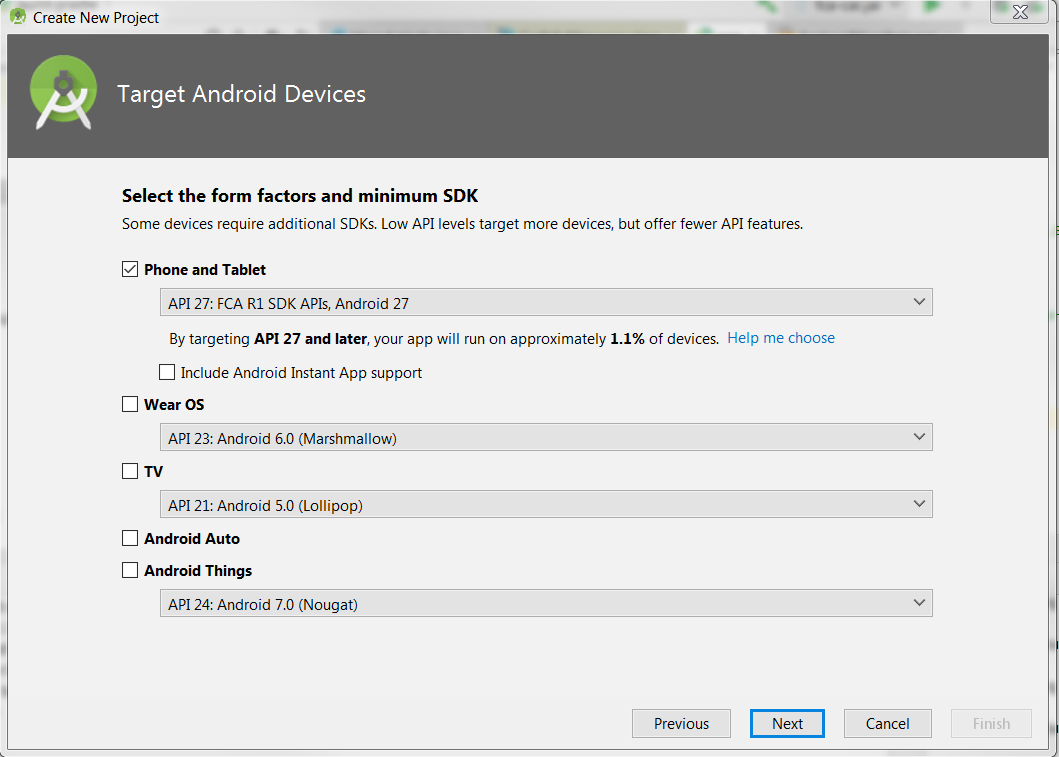
- Select the Minimum SDK level you need to support the SDKs you’re using. In this example, select API 27.
Click Next.
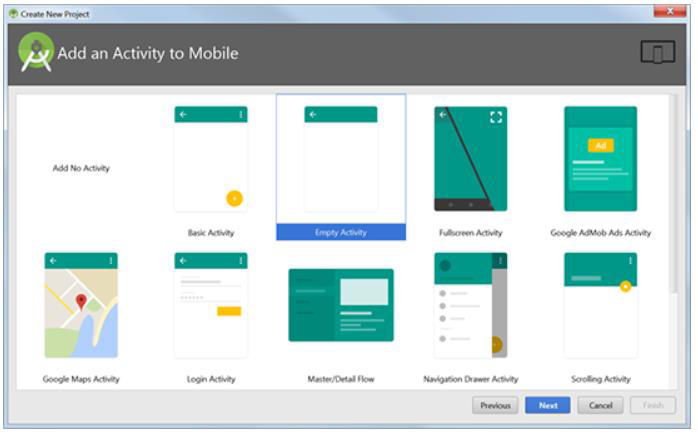
- Use the default Empty Activity type and click Next. For more about activities, see Android
Activities.
- Use the default Activity Name and Layout Name and click Finish.
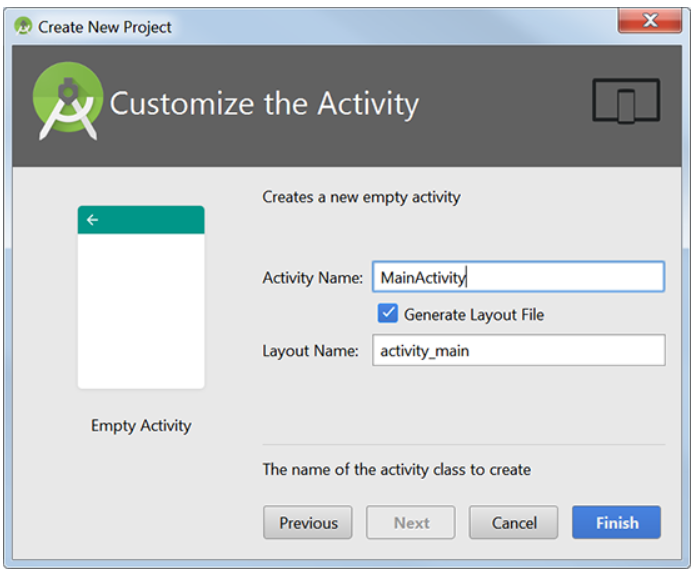
- For more about creating a project in Android Studio, see Creating
projects.
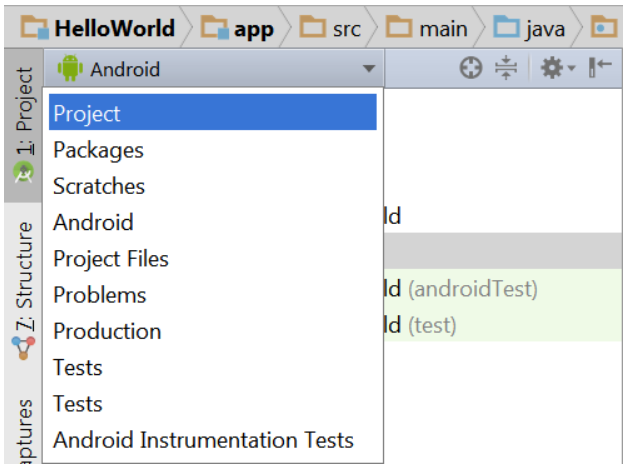
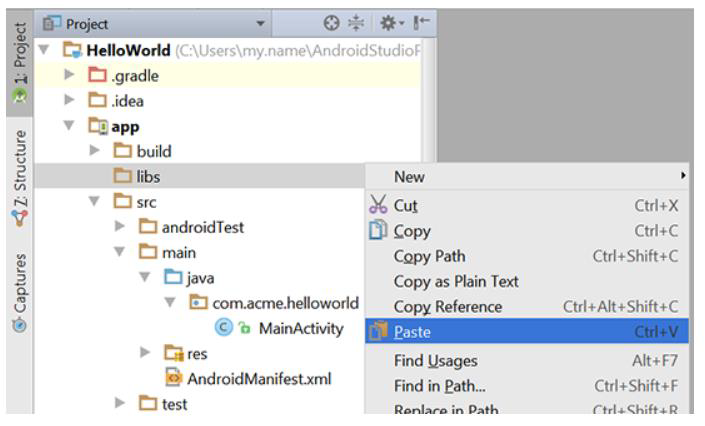
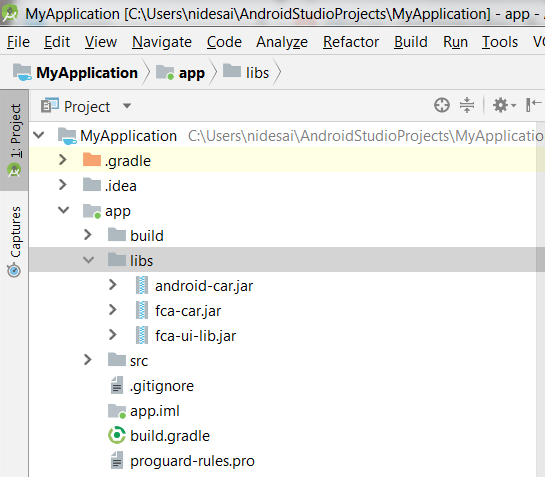
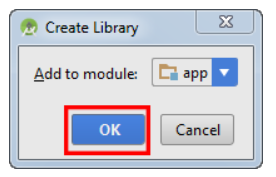
Adding Custom (FCA/HARMAN) library (from SDK
Add-on) to Android Studio
Deploy a sample Android App to R1 Radio
- Create a sample empty activity app project and add android-car.jar as anew lib to the project.
- Here is a code snip-it form Main Activity.java that uses some of android-car.jar.
package com.example.myapplication;
import android.car.Car;
import android.car.CarInfoManager;
import android.content.ComponentName;
import android.content.ServiceConnection;
import android.os.IBinder;
import android.support.v7.app.AppCompatActivity;
import android.os.Bundle;
import android.util.Log;
public class MainActivity extends AppCompatActivity {
android.car.Car myCar;
ServiceConnection myService = new ServiceConnection() {
@Override
public void onServiceConnected(ComponentName name, IBinder service) {
try
{
CarInfoManager myCarInfoManager = (CarInfoManager) myCar.getCarManager(Car.INFO_SERVICE);
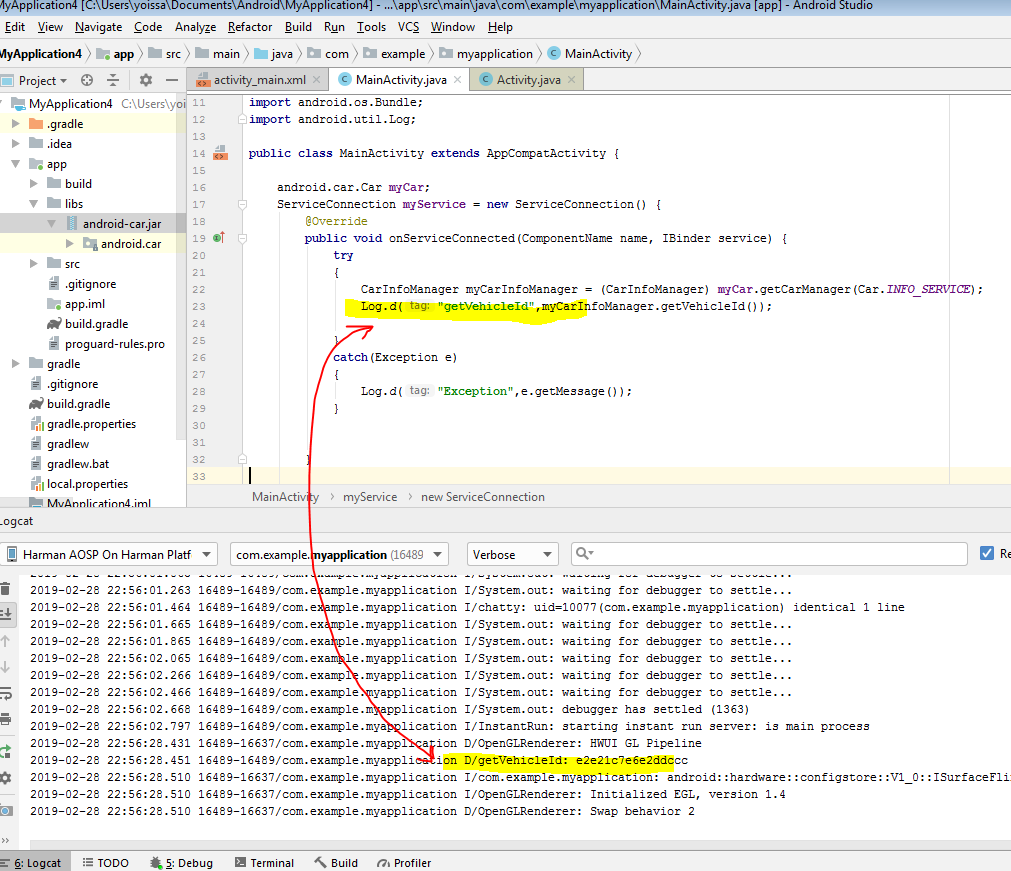
Log.d("getVehicleId",myCarInfoManager.getVehicleId());
}
catch(Exception e)
{
Log.d("Exception",e.getMessage());
}
}
@Override
public void onServiceDisconnected(ComponentName name) {
}
};
@Override
protected void onCreate(Bundle savedInstanceState) {
super.onCreate(savedInstanceState);
setContentView(R.layout.activity_main);
myCar = android.car.Car.createCar(this,myService);
myCar.connect();
}
}
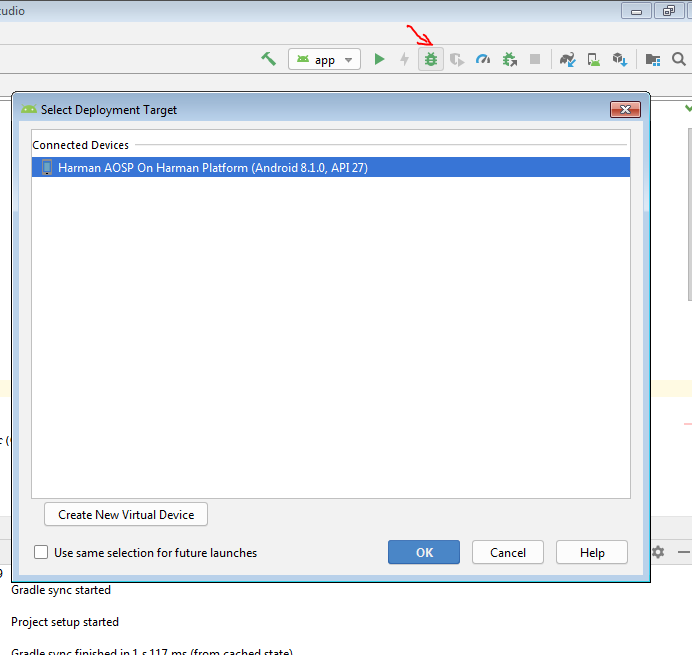
- Make sure the project builds with no issues.
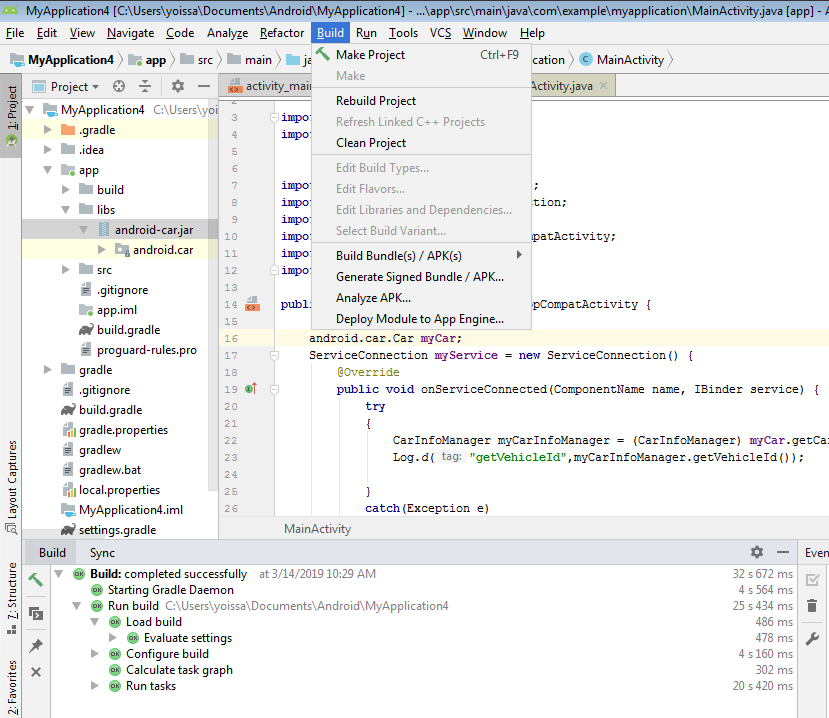
- Deploy the app and monitor the Logcat output, you should see this:
Updated: 04/17/2019
Top